Introduction to Profiling
Note: The book is a work in progress. This page serves as a placeholder for the future content.
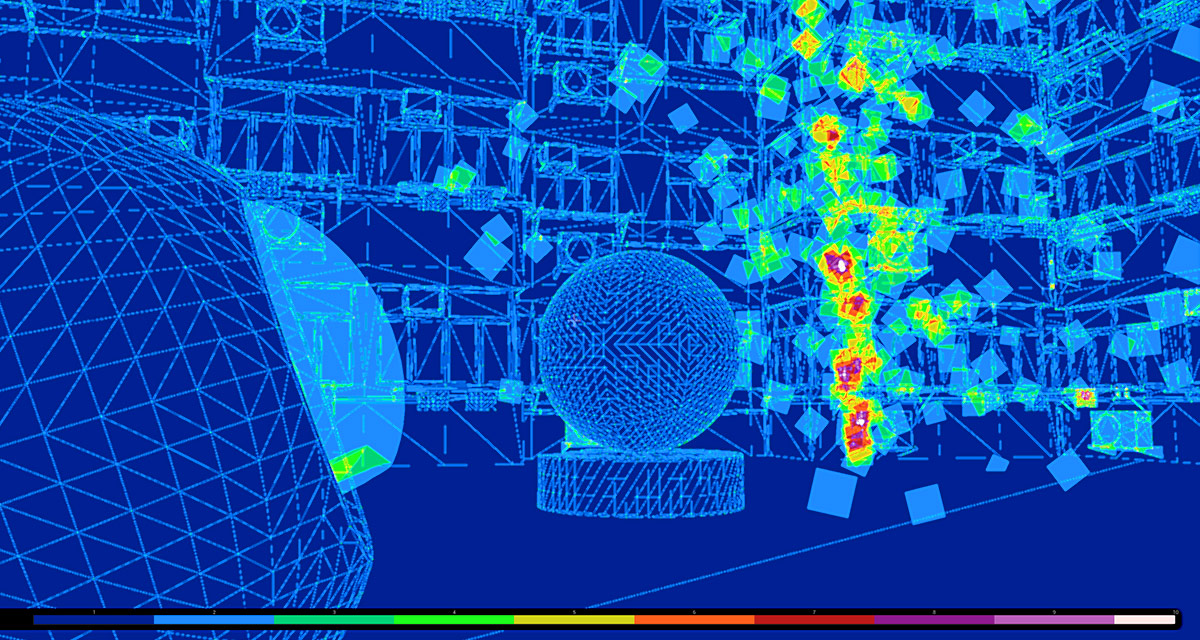
Since at least two generation of consoles, real-time graphics performance is no longer just a matter of pure polygon count. Features that are fundamental to physically based rendering - from specular reflections, through diffuse lighting to ambient occlusion - are largely decoupled from the cost of geometry, being dependent on the amount of pixels instead. Other issues - like quad overshading or texture bandwidth - need more attention now, as graphics chips became great at processing polygons, causing the bottlenecks to appear elsewhere.
To understand profilers’ output, we need the knowledge about engine’s inner workings. With popular commercial engines like Unreal Engine 4, understanding performance factors is at the same time hard and easy.
It’s hard because engine’s renderer consists of dozens of systems. These pieces of code are often dependent on each other, making it harder to isolate certain features for testing. By default, Unreal needs to go through 46 different rendering passes to process and draw a scene every frame. Usually, detailed explanation of these processes can only be found in engine programming documentation or by reading the source code. This makes the knowledge quite obscure to people without a background in engine programming, not just to artists.
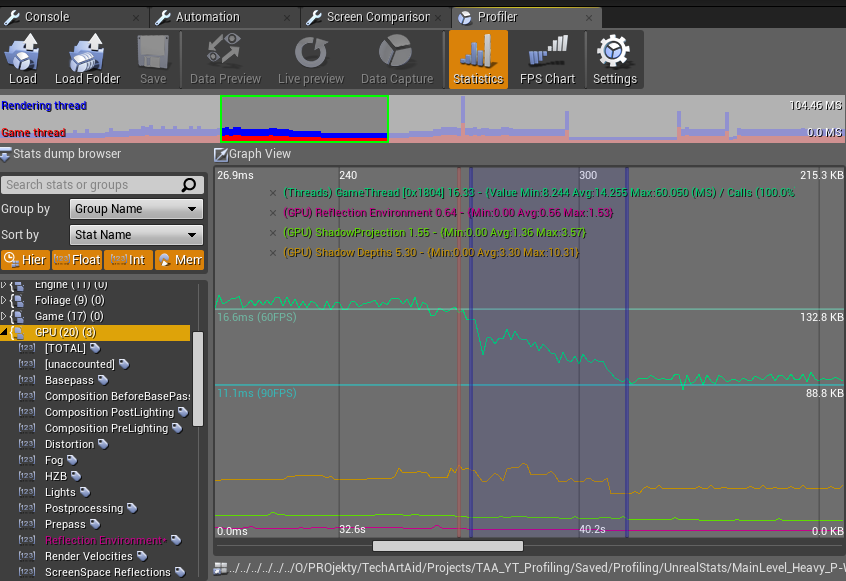
But understanding performance issues is also easy now. The engine provides us with detailed statistics about each rendering pass and subsystem. Immediately useful information, including a frames-per-second graph, can be displayed with basic console commands. Various built-in tools (like the GPU Visualizer) allow us to make a performance analysis - the step called profiling. And if we ever a need a precise breakdown of a single frame, we can turn to powerful standalone applications. This book walks you through the full spectrum of tools that can be used to analyze performance.
Why profiling?
So - what is profiling exactly? It’s measuring the time it took to complete each function or a given block of instructions. For example: rendering all translucent meshes. By placing so called “GPU timestamps”, Unreal can measure specific parts of the pipeline. Profiling allows you to compare different solutions.
As I said in part 1, I urge you to act like scientists when approach the optimization of your game. So you come up with some interesting theory, For example that shadowed lights are the problem in your scene. Then you come up with some tests to allow yourself to check if you’re right or not. And then the profiling is a perfect tool for that. It will be even more visible in part 4 when we’ll use an external profiler but in this part, you’ll see that you can extract a lot of information already from the built-in GPU Visualizer tool. It’s a common saying in the programming area that “Early optimization is the root of all evil”. Basically, it means - for me it means - spending time on unnecessary details like deleting single polygons or simplifying textures, while what you should do is to do profiling and find out that you are bound by shadowed lights that shouldn’t be rendered at all because they’re so far away. It all comes to the fact that profiling allows to pick your battles wisely.